You’ve grilled your steak to a perfect medium-rare, let the ribs rest just long enough, and maybe you’ve even coaxed some caramelized bliss from charred pineapple slices. But before you call it quits, there’s one last game-changing move that can catapult your flavors to chef-level brilliance: finishing salt.
What’s the secret to using finishing salt? It’s not just what kind of salt you use, but when you sprinkle it.
Let’s break down exactly when to add finishing salt in the final minutes of your grill session, so each dish gets just the right crunch, contrast, and pop of flavor without masking all that smoky goodness you worked so hard for.
What Makes a Salt “Finishing” & Why Timing Matters
If you’ve ever swapped out table salt for flaky sea salt and wondered why your food suddenly tasted like something off a restaurant menu, you’ve met the magic of finishing salt. What sets it apart from your everyday shaker?
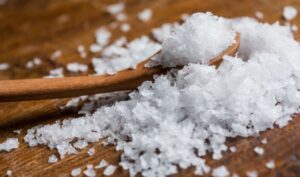
- Crystal size & texture: Finishing salts have large, irregular flakes that deliver a crisp crunch and dissolve more slowly on the tongue.
- Moisture content: Many are slightly damp or sticky, which helps them cling to food surfaces and release flavor gradually.
- Heat sensitivity: These delicate flakes melt quickly, so they need to be added after the grill, not during the sizzle.
We won’t go into the full finishing salt lineup here (we’ve already covered that in What is Finishing Salt & How to Use it When Grilling and our BBQ Salt Guide). Still, popular picks, like Maldon, fleur de sel, Himalayan pink salt, and smoked sea salts all bring their own unique flavor and texture to the final bite.
The 3-Stage Timing Rule After Grilling
Here’s where we carve out our edge: Most finishing salt advice stops at “sprinkle at the end.” But for maximum impact, you need to dial in the exact moment based on the food and the flavor experience you want. Enter the 3-Stage Timing Rule:
1. Resting (0–2 minutes post-grill)
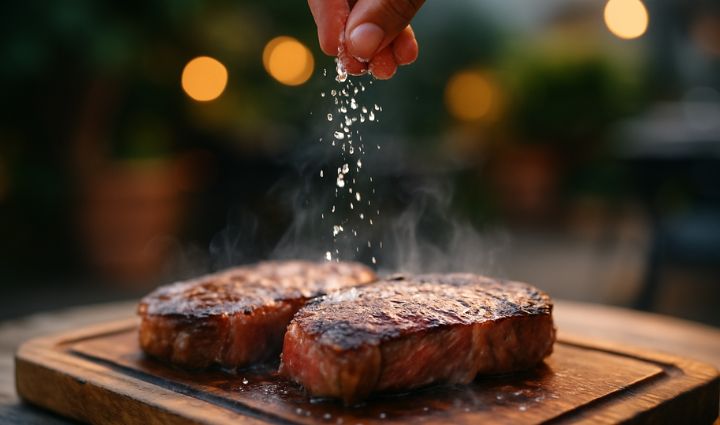
For juicy, fatty cuts like steak, ribs, or pork chops, sprinkle coarse finishing salt while the meat is resting. That brief window lets the salt cling to surface moisture without fully melting. It also helps balance richness and elevate smoke notes.
Look for larger salt grains like Maldon Sea Salt Flakes or French Grey Salt here for that signature crunch. If your salt grains are too small, they will melt completely and you’ll lose the crunch.
2. Plating (2–4 minutes)
Delicate foods like fish, shellfish, or grilled vegetables benefit from a gentler touch. Plate them first, let the residual heat settle, then add a fine flake. This preserves the salt’s structure and ensures even distribution.
Opt for Fleur de Sel or a light, smoked salt for briny brightness.
3. At-Table (Just Before the First Bite)
Want to let your guests customize their crunch? Offer finishing salt in a pinch bowl for the table. It’s perfect for items like grilled fruit, desserts, or dialing up flavor right before slicing and serving a rested roast.
Technique Tips for Perfect Coverage
Salt like a pro without overdoing it. Here’s how:
- The “High Pinch” Trick
Hold your hand 8–10 inches above the food and let the salt fall gently onto it. This creates a cloud that distributes evenly across the surface, not in clumps. Never sprinkle finishing salt directly from its container. That’s a one-way ticket to over-salting. - Cut the salt you add while cooking by about 25%
If you’re planning to finish with salt, reduce your pre-grill seasoning. That final sprinkle should enhance the flavor, not overpower it. - For visual learners
Check out Seasoning School with Ben Tish, a 30-second video showing a Malden “salt cloud” in motion.
Finishing Salt Pairings Cheat Sheet
Quick Tips to Mix & Match
- Think texture first. Big, pyramid-shaped flakes = crunch; fine crystals = subtle sparkle.
- Mind moisture. Damp salts (sel gris, fleur de sel) cling better to slick surfaces, like rib-eye fat or seared tuna.
- Layer flavors, not sodium. If your rub was already salty, cut back 25% and let the finishing salt do the talking.
Avoiding Common Pitfalls
Even finishing salt isn’t foolproof (gasp!). Here’s how to avoid common missteps:
- Over-salted? Try dabbing with a paper towel, adding an acid (like lemon juice or vinegar), or simply serving the dish with a contrasting side, like a creamy dip or fresh slaw.
- Clumpy crystals? Store finishing salts in airtight containers and away from the grill. A little moisture is beneficial, but excessive humidity and heat can cause your salt to become a brick.
- Don’t overdo it. A finishing salt should bring texture bursts, not full coverage. Think of it like glitter: powerful in small doses, dangerous when dumped.
Your Grill Game Just Leveled Up
Now that you know exactly when to add finishing salt, you’re equipped to pull off those subtle, restaurant-style flavor boosts that make all the difference.
Want to take it further? Explore our Salt Collection and start crafting your personalized signature seasoning.