Picture this: the aroma of slowly roasting meat, the scintillating scent wafting through your yard with every spin of the spit, and the anticipation of juicy, flavorful bites.
There’s something inherently primal about the art of rotisserie cooking. It’s not just about preparing food—it’s about crafting an experience. Whether you’re a novice eager to delve into the world of rotisserie or a seasoned pro (pro-tisserie, dare we say?) looking to elevate your game, we’ve got you covered.
In this guide, we’ll walk you through everything you need to know to master the art of rotisserie cooking, including:
Essential rotisserie cooking equipment and gear
Preparing the grill and rotisserie
Correct rotisserie placement
How to heat your grill for rotisserie
Removing the rotisserie
What to cook on a rotisserie grill
Let’s fire up those grills and get cooking!
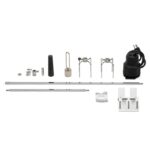
Essential Rotisserie Cooking Equipment and Gear
It goes without saying that in order to partake in delicious rotisserie meats, you will need a rotisserie attachment or rotisserie kit designed to fit your specific grill model.
If your grill did not come with rotisserie attachments, you can buy these items separately. A rotisserie burner isn’t necessary, but if your grill has one, it is a nice feature that sets you up for perfect indirect, even heating.
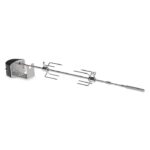
Depending on the rotisserie kit model, the spit can hold up to 10-20 lbs of food (that’s about 2-4 five pound chickens). Make sure to confirm weight limitations in the product specs as each rotisserie is different.
If you plan to rotisserie multiple items or heavy pieces of meat (up to 55 lbs) you will need to invest in a commercial grade rotisserie kit.
How to Rotisserie: Preparing the Grill and Rotisserie
Follow these two steps to prepare your spit for rotisserie cooking:
1. Balance the meat
Balance is everything when it comes to rotisserie grilling, and it starts in the grocery store. When picking out your meat, make sure you are selecting for symmetry. This will ensure you have proper balance on the skewer.
Balancing your meat properly is a very important step because if you get it wrong, the meat can rip loose while cooking. An unbalanced spit can also put unnecessary stress on the motor, causing your rotisserie to wear out prematurely.
Take the time to truss any loose bits before skewering the meat lengthwise through the longest portion then center it on the rod. Then slide the forks together on either side of it before locking them in place. Ensure the meat is firmly secured and check if the forks need adjusting throughout the cooking process, as they can shift when the meat gets tender.
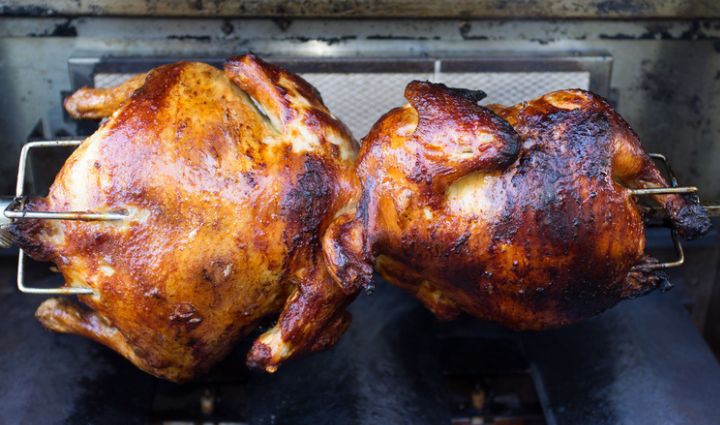
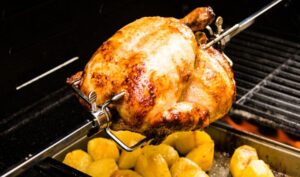
To prepare whole poultry for rotisserie cooking, cross the drumsticks and secure the wings by tying them to the body with twine. This keeps them from flopping around while rotating, which can result in an off-balance rod and burnt or unevenly cooked chicken. Run the spit rod through the breast cavity, parallel to the backbone and out through the opening at the tailbone. Center the bird and attach the forks on the spit rod to the breast and tail areas. Be sure the forks press tightly to hold the chicken firmly.
2. Check it twice
With your food securely attached to the rod and the counterbalance in place (if your rotisserie has one), double check it for balance by rolling it back and forth between your palms. Is one side heavier than the other? If so, you will need to rebalance the spit to avoid putting stress on the motor and keep the food evenly cooked. Keep adjusting and testing it until it turns easily and smoothly in your hands.
How to Rotisserie: Correct Rotisserie Placement
Once your food is balanced, slide your rotisserie motor onto the mounting bracket. Plug it in, and turn the motor on and off to ensure it is working.
GRILL SPOT TIP: If you set up your rotisserie so that the top of the item (i.e. the chicken breast) is moving away from you and the drip pan is placed slightly towards the front of the grill, you will have an easier time scooping up the drippings for basting.
Open the lid of your grill. With the lid open and your heat-safe grill gloves on, grab the spit. How you attach the spit will vary based on the model you have, but in general the point of the spit needs to be plugged into the rotisserie motor. With the spit plugged in on one side, lower the other side until the notch sits in the built-in groove on the side of the firebox. Otherwise, you may need to remove the motor from the mounting bracket and slot the spit into the grooves before sliding it out to remount the motor and plug it back in. Check your instructions to confirm how to place it correctly.
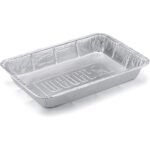
With your spit mounted, all you need to do is make certain your food is secured, your spit is able to turn freely, the motor is running, and the drip pan is directly below the meat to avoid flare-ups.
Rotisserie cooking requires medium, indirect heat that is typically about 350°F.
If you are cooking meat, you may want to heat your food on high heat for about 10 minutes to sear the outside. After searing, turn the grill down to 350°F and grill until the food reaches the desired internal temperature.
How to use a rotisserie burner on a gas grill
To use the infrared rotisserie burner on your gas grill, push in the knob and hold it for approximately twenty seconds until the entire burner is lit—it will glow red when fully lit. After you’ve been cooking for 10-15 minutes, turn off your rotisserie burner. This will ensure you have a nice crust or crispy skin without burning any bits. Continue cooking your food on medium, indirect heat (i.e. with only burners not directly underneath the rotisserie) until it reaches the desired internal temperature.
Rotisserie cooking on a charcoal grill
If you are using a charcoal grill, start by lighting your coals and letting them get nice and ashy. Place the coals in two piles on both edges of the grill and place the drip pan in between. The coals should overlap the food slightly but there should be no coals directly underneath. Remember, you do not want direct heat with rotisserie grilling. For larger items, you may find you need to add more burning coals every 30 minutes, so keep extra coals and your starter chimney handy.
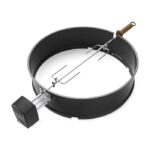
After setting up your coals and drip pan, place your rotisserie ring on your grill. Most rotisseries are designed for use with gas grills, but you can find attachments for some charcoal grills.
When rotisserie cooking on a BBQ, you typically want to leave the lid closed and open it as little as possible until the meat is done cooking. You can open the lid after about thirty minutes to confirm everything is working correctly, but close it again quickly until it finishes cooking (unless the recipe you are using directs you otherwise).
Why should you keep the lid closed? Keeping the lid closed allows the temperature to stay more consistent and even all the way around the food. When the lid is open, heat will escape out the top, and your food will only be cooked from below.
How to Rotisserie: Removing the Rotisserie
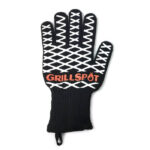
The spit will be dangerously hot when you remove it from your grill, so only remove it using heat-safe gloves.
Carefully transfer the food to a carving board and quickly cut off any butcher’s twine and remove it from the meat. After removing the twine, let your meat rest for at least 5 to 10 minutes before you start carving.
GRILL SPOT TIP: If you wait until it cools to remove the twine, the crust on the meat will start to harden and removing the twine will become increasingly difficult.
Rotisserie Cooking: What Can I Cook on My Rotisserie Grill?
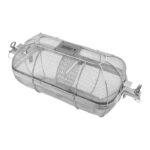
You can cook a surprising number of food items on your rotisserie, including a wide range of meats, as well as fruits, vegetables, and more—especially if you have a crisping basket or rotisserie skewer attachment:
From selecting the right equipment to achieving perfect balance and mastering the nuances of heat management, rotisserie cooking isn’t that hard to do if you have the right pieces of equipment and a bit of knowledge from a reliable source.
So, whether you’re savoring the simplicity of a rotisserie chicken or experimenting with new flavors and ingredients, embrace the joy of rotisserie cooking. Here’s to many more delicious rotisserie adventures ahead!